Document Builder
The CoreTRM comes with some default document that can be used. The main default document is Invoice. However, you are able to build custom document in Word or PDF format.
To access document builder go to System Admin and then to the Document Builder tab.
Creating a new document
It is common that there are a fair amount of document that are used by the trading company. Most of the document should be able to produce by the system since most of the trade data are inside the system.
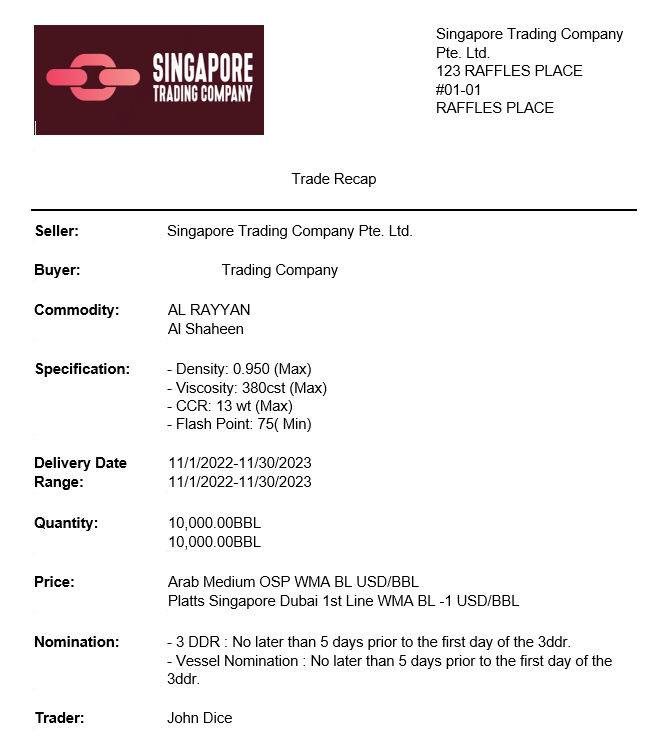
Lets take an example of creating a new Trade Recap document. The Trade Recap will appear like below:
To start creating a document, in document view:

- Navigate to System Admin then Document Builder.
- From the Document view, click on
 to create a new line.
 - In Document Name, enter the name of the document. In our example, enter "Trade Recap".
- In Document Id, enter the unique id of the document. In our example, enter "trade-recap".
- In Document Group Name, select the applicable Document Group Name. The group can be created by the user. Go to Document Builders -> Document Groups to create new group. In our example, select "Transaction Docs".
- In Sort Order Num, enter the sort order number. This can be used to determine the sort order in which the document appear.
- In Orientation, select the orientation of the document. This can be either "Portrait" or "Landscape". In our example, select "Portrait".
- In Size, select the size of the document. This can be either "A4", "Letter" or "Legal". In our example, select "A4".
- In Font, select the font to be used in the document. This can be either "Arial Nova", "Courier", "Helvetica", "Roboto" or "Times-Roman". In our example, select "Arial Nova".
- In Output Type, select the output type of the document. This can be either "Word" or "PDF". In our example, select "Word".
- In Document Type,select applicable document type. In our example, this will be blank.
- In Booking Entity, select applicable booking entity. In our example, select "Singapore Trading Company".
- In Counterparty, select applicable counterparty. Counterparty is use for specific document such as LOI. Depending on counterparty, different LOI can be created. In our example, this will be blank.
- In Default?, tick the box if this document is use as default.
- In Active, tick the box if this document is active.
- Next, click on
 in to confirm the creation.
 - To edit item document details after creation, Click
 to edit.
To continue creating a document, in document view:
- Click on the document name to be redirected to the document details view.
- From the Sections, click on
 and select "Document Root" to add a new section. All documents will have to start with "Document Root".
 - From the section details on the right, enter a name for the section. In our example, enter "Trade Recap".
- From the section details on the right, select the starting object from where the document should retrieve the data. In our example, select "Contract".
- From the section details on the right, select enter any criteria relating to this section. Typically, for Document Root, we will need to link the parameter from screen select to object here. In this example, we are expecting the user to select a contract from the screen and then print the "Trade Recap". So we will be linking the contractseqnum from screen to the object in the section using {param}. The code to use is:
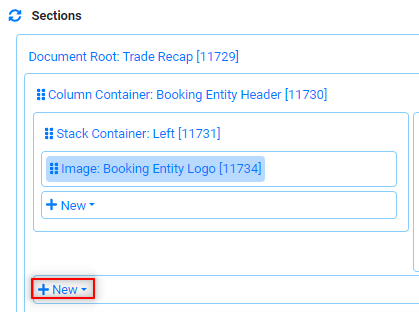
- Next, below the new "Document Root: Trade Recap" , click on to add new section.
- In our example, we will use a column container to create the Logo (on the left) and Company Name and Address (on the right).
- Next, in the Section Title of the Column Container, you can include a title to identify this section. In our example, enter "Booking Entity Header".
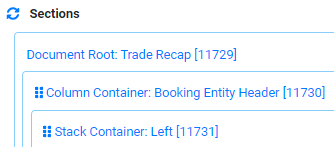
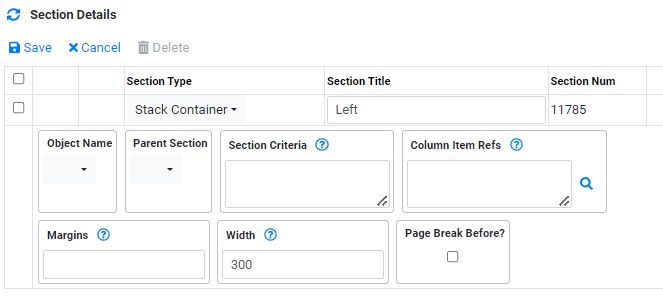
- Next, click on the under the Column Container, to add new section. In our example, we can use a Stack Container and enter section title as "Left".
- In the Stack Container: Left section details, we can set more properties of the container. In our example, we can set the width of the container to be fixed at 300.
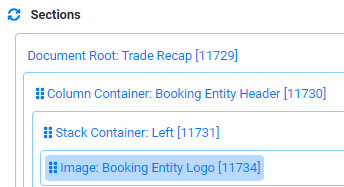
- Next, under the Stack Container: Left, we can include the logo. In our example, we will select "Image" as a new section. We can enter Section Title as "Booking Entity Logo".
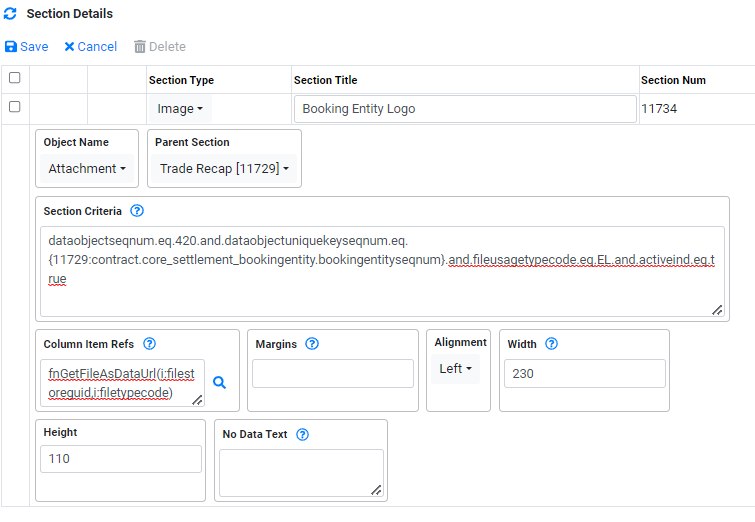
- In the Image:Booking Entity Logo section details, we can set more properties for the section. In our example, since we are displaying the logo. We use:
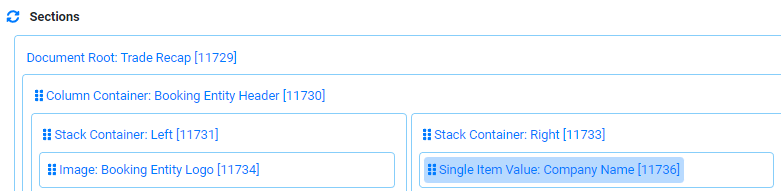
- Next, we will create the right section for the Company Name and Address.
- Click on in the lower part of the Column Container to add a new section. In our example, select Stack Container and enter the section title as "Right". Notice that because we are using Column Container section earlier, the system will place the Stack Container next to Stack Container:Left.
- Under the Stack Container: Right, click on to create a new section. In our example, we will select "Single Item Value" and enter the section title as "Company Name". This section will be use to retrieve the Booking Entity Name.
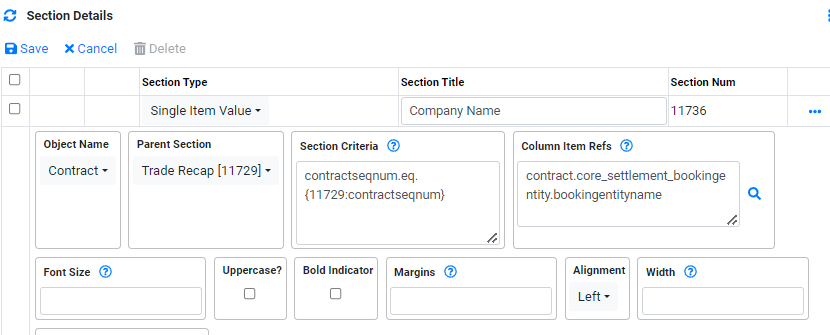
- In the Single Item value: Company Name section details, we can set more properties for the section. In our example, we will use the following:
- Next, we will create the section for the Booking Entity Address.
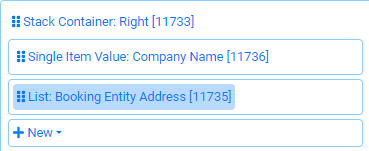
- Click on under the Single Item Value:Company. In our example, select List and enter the section title as "Booking Entity Address". When "List" section is used, the system will list all the row from that object.
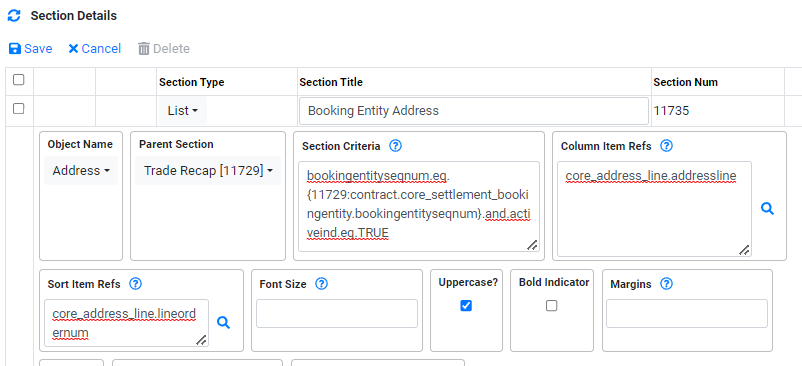
- In the List: Booking Entity Address section details, we can set more properties for the section. In our example, we will use the following:
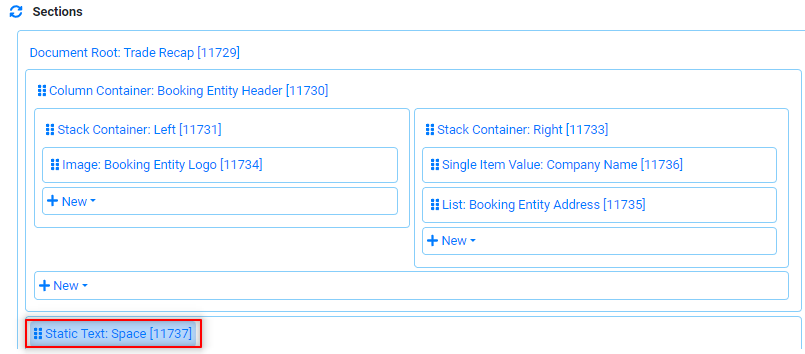
- Next, we will create the remaining part of the trade recap. In order to create some spacing between the Entity Header Section with the next section, we can include a blank Static Text Section before starting the next section.
- Click on outside the Column Container Section to create a new section. In our example, we will select "Static Text" Section and name it as "Space". This will create some spacing with the next section.
- For the Static Text:Space section detail, we will not include additional properties.
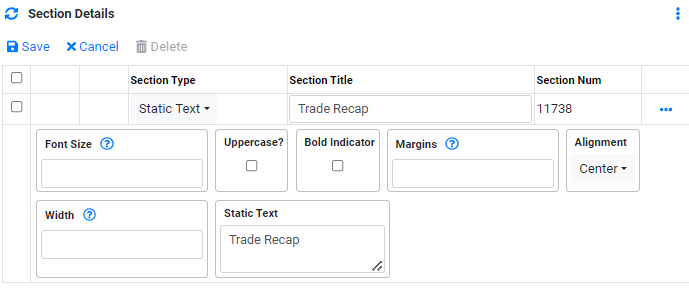
- Next, we will create the title of the document to be display at the center of the document.
- Click on after the Static Text:Space section to create a new section and enter "Trade Recap" as the section Title.
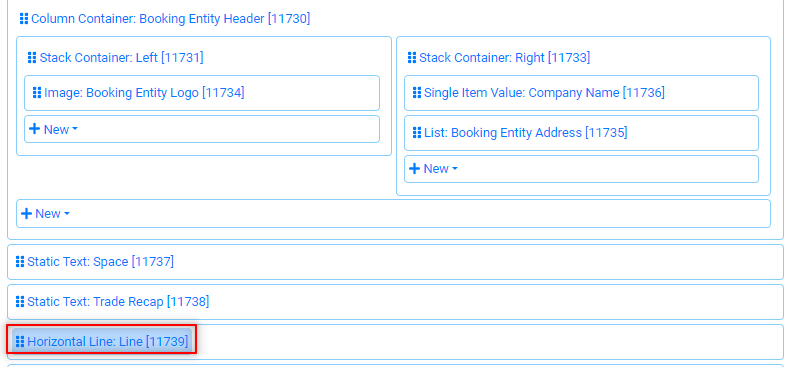
- Next, we will create a horizontal line.
- Click on after the Static Text:Trade Recap section to create a new section and enter "Line" as the section Title.
- For the Horizontal Line:Line section detail, we will not include additional properties.
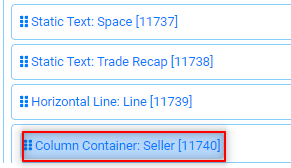
- Next, we will create the section for the Seller.
- Click on under the Horizontal Line:Line. In our example, select Column Container and enter the section title as "Seller". We will use the Column Container to create a 2 Column display left side for the text and right side for the value.
- For the Column Container:Seller section detail, we will not include additional properties.
- Next, we will create the section to display the static text Seller on the left.
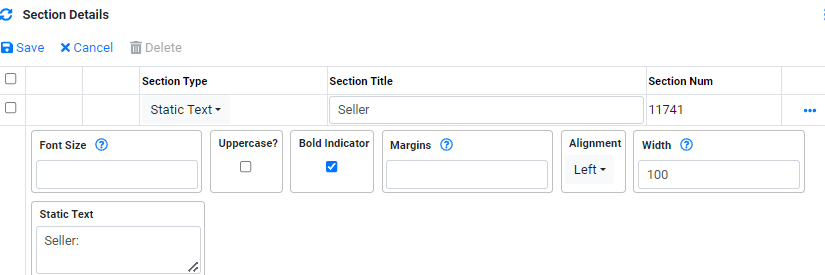
- Click on under the Column Container:Seller. In our example, select Static Text and enter the section title as "Seller".
- In the Static Text: Seller section details, we can set more properties for the section. In our example, we will use the following:
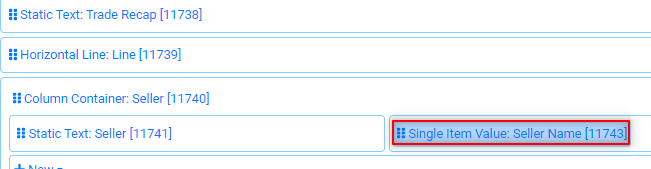
- Next, we will create the section for the seller name value.
- Click on under the Static Text: Seller. In our example, select Single Item Value and enter the section title as "Seller Name". Since Seller Name will be a single value, we can use Single Item Value.
- In the Single Item Value: Seller Name section details, we can set more properties for the section. In our example, we will use the following:
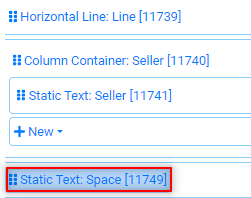
- Next, we can create a spacing between seller and buyer. We can Click on outside the Column Container Section to create a new section. In our example, we will select "Static Text" Section and name it as "Space". This will create some spacing with the next section.
- Next, we can create the Buyer Section and Buyer Name Value similar to Seller. We can use step 29 to 37 again.
- Next, we can create a space section again after the Buyer Section.
- Next, we can create the commodity section.
- Click on under the Static Text:Space. In our example, select Column Container and enter the section title as "Commodity". We will use the Column Container to create a 2 Column display left side for the text and right side for the value.
- For the Column Container:Commodity section detail, we will not include additional properties.
- Next, we will create the section to display the static text Commodity on the left.
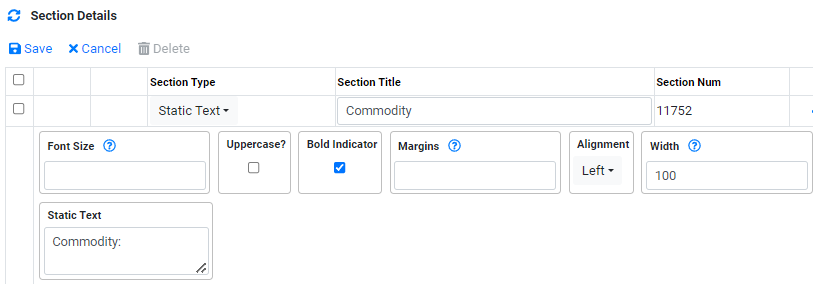
- Click on under the Column Container:Commodity. In our example, select Static Text and enter the section title as "Commodity".
- In the Static Text: Commodity section details, we can set more properties for the section. In our example, we will use the following:
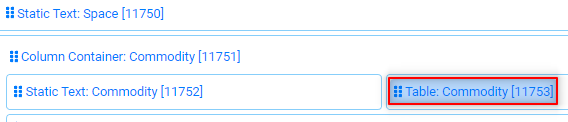
- Next, we will create the section for the seller name value.
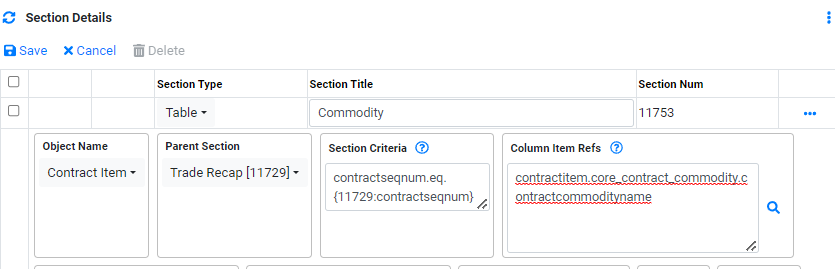
- Click on under the Static Text: Commodity. In our example, select Table and enter the section title as "Commodity". Since Commodity Name can be more than 1 value, we can use Table to display more than 1 value if there are more than 1 contract item entered.
- In the Table: Commodity section details, we can set more properties for the section. In our example, we will use the following:
- Next, we can create a space section again after the Commodity Section.
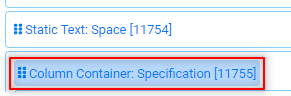
- Next, we can create the Specification section.
- Click on under the Static Text:Space. In our example, select Column Container and enter the section title as "Specification". We will use the Column Container to create a 2 Column display left side for the text and right side for the value.
- For the Column Container:Specification section detail, we will not include additional properties.
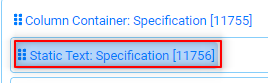
- Next, we will create the section to display the static text Specification on the left.
- Click on under the Column Container:Specification. In our example, select Static Text and enter the section title as "Specification".
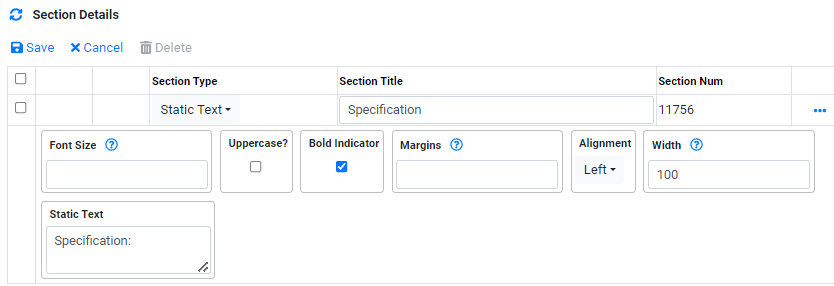
- In the Static Text: Specification section details, we can set more properties for the section. In our example, we will use the following:
- Next, we will create the section for the seller name value.
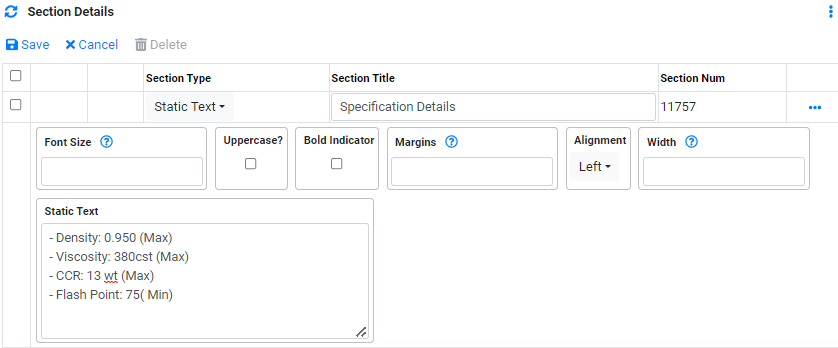
- Click on under the Static Text: Specification. In our example, select Static Text and enter the section title as "Specification Details". Since we are displaying a group of static text, we can use Static Text section again.
- In the Static Text: Specification Details section details, we can set the static text, we will use the following:
- The remaining sections will be the same as above. For Delivery Range, Quantity and Range, a Table Section will be used so that if there are more than 1 contract item, the system will display the data correctly.
contractseqnum.eq.{param:dataobjectuniquekeyseqnum}
Typically, in a document, you can use different type of section to layout how the data will be displayed in the document. Each type has some specific properties in the section details. The main section type are Stack Container, Column Container, Table, Image, Single Item Value, Static Text, Horizontal Line, Footer and Header.
Stack Container: Allows you to stack the data inside the container.
Column Container: Allows you to divide the document layout into columns. Typically, in 1,2,3 or 4 columns format. As a result, you can place the data in a structure manner.
Table: Allows you to display multiple rows of table when the results has more than 1 row.
Image: Allows you to display image in the document.
Single Item Value: Allows you to display a single value in the document.
Static Text: Allows you to display a single value in the document.
Horizontal Line: Allows you to display a horizontal line in the document.
Footer: Allows you to display data in the footer section of the document.
Header: Allows you to display data in the Header section of the document.

Object Name: Attachment
Parent Section: Trade Recap[11729]. This is to link the attachment object to the Trade Recap Document Root so that when the contract is selected, we will be able to get the booking entity from the contract.
Section criteria: will be the code below. The criteria will link the dataobjectseqnum to 420 which is created when a logo image is attached to booking entity. Then also having the criteria that the file usage type is "EL"(Booking Entity Logo) and that the attachment is active.
dataobjectseqnum.eq.420.and.dataobjectuniquekeyseqnum.eq.{11729:contract.core_settlement_bookingentity.bookingentityseqnum}.and.fileusagetypecode.eq.EL.and.activeind.eq.true
Booking Entity Logo Attachment can be found in Reference Data-> Accounting-> Booking Entities-> Attachment Tab.
![]()
Column Item Ref: as per the code below. A function fnGetFileAsDataUrl will have to be used to get the URL of the attachment and render the image back to the document.
fnGetFileAsDataUrl(i:filestoreguid,i:filetypecode)
In our example, we will also set the width and height of the image as Width:230 and Height:110 and Aligment:Left.
Object Name: Contract
Parent Section: Trade Recap[11729]. This is to link the contract object to the Trade Recap Document Root so that when the contract is selected, we will be able to get the booking entity name from the contract.
Section criteria: will be the code below. This is to link the contract object to the Root Document Contract object.
contractseqnum.eq.{11729:contractseqnum}
Column Item Ref: will be the bookingentityname Item Ref.
contract.core_settlement_bookingentity.bookingentityname
In our example, we will also set Aligment:Left.
Object Name: Address
Parent Section: Trade Recap[11729]. This is to link the address object to the Trade Recap Document Root so that when the contract is selected, we will be able to get the booking entity name from the contract.
Section criteria: will be the code below. This is to link the Address object bookingentityseqnum to the Root Document Contract object bookingentityseqnum.
bookingentityseqnum.eq.{11729:contract.core_settlement_bookingentity.bookingentityseqnum}.and.activeind.eq.TRUE
Column Item Ref: will be the core_address_line.addressline Item Ref. Since we use "List" as section type, the system will display all the address line of the Booking Entity.
Sort Item Ref: we will include a sort item ref using core_address_line.lineordernum to sort the address line before displaying in the document.
In our example, we will also set Aligment:Left.
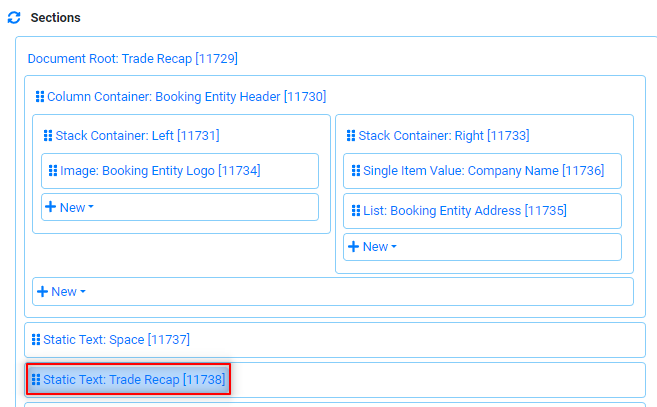
For the Static Text:Space section detail, we include a Static Text: "Trade Recap" and set Alignment:Center.
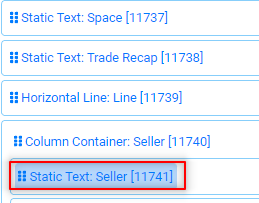
We will set Static Text as "Seller:", Width:"100" and Aligment:Left.
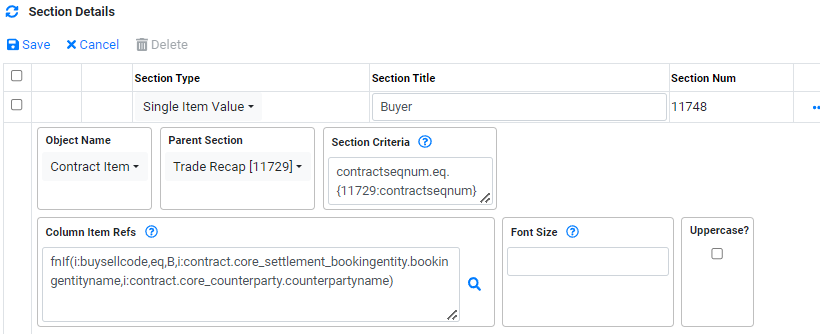
Object Name: Contract Item
Parent Section: Trade Recap[11729]. This is to link the Contract Item object to the Trade Recap Document Root so that when the contract is selected, we will be able to get the related Contract Item data.
Section criteria: will be the code below. This is to link the Contract Item object contractseqnum to the Root Document Contract object contractseqnum.
contractseqnum.eq.{11729:contractseqnum}
Column Item Ref: will be the bookingentityname Item Ref. Hoewever, to know if we are seller or buyer, we will need to use buysellcode. The function is below:
fnIf(i:buysellcode,eq,S,i:contract.core_settlement_bookingentity.bookingentityname,i:contract.core_counterparty.counterpartyname)
In our example, we will also set Aligment:Left.
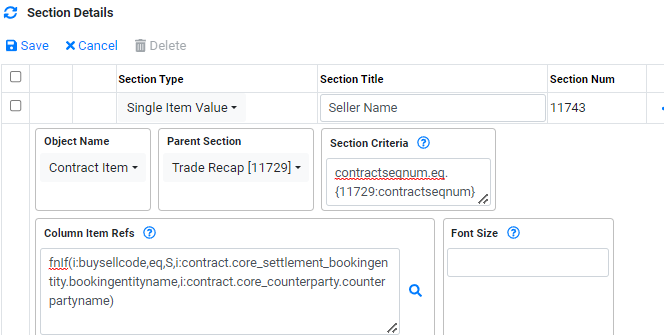
Note: For Column Item Ref, the Function will be changed to check buysellcode equal to B.
fnIf(i:buysellcode,eq,B,i:contract.core_settlement_bookingentity.bookingentityname,i:contract.core_counterparty.counterpartyname)

We will set Static Text as "Commodity:", Width:"100" and Aligment:Left.
Object Name: Contract Item
Parent Section: Trade Recap[11729]. This is to link the Contract Item object to the Trade Recap Document Root so that when the contract is selected, we will be able to get the related Contract Item data.
Section criteria: will be the code below. This is to link the Contract Item object contractseqnum to the Root Document Contract object contractseqnum.
contractseqnum.eq.{11729:contractseqnum}
Column Item Ref: will be the contractcommodityname Item Ref.
contractitem.core_contract_commodity.contractcommodityname
In our example, we will also set Aligment:Left.
We will set Static Text as "Specification:", Width:"100" and Aligment:Left.

- Density: 0.950 (Max) - Viscosity: 380cst (Max) - CCR: 13 wt (Max) - Flash Point: 75( Min)
Custom Panel
After the document are built, you will need to decide on which view this document can be printed. For our example, the view that we are using is Physical -> Contract View. This is done via View Builder and custom tab.
Custom Tab allows you to add custom application into the view so that based on selection by the user, the custom application will be triggered.

To create a new custom button, in View Builder-> Customs Tab:
- Click on
 to create a new line.
 - In Order Num, enter an order num. In our example, we are using "500".
- In Custom Type, select the applicable custom type. The custom Type available are "Table Button", "Row Drag" and "Row Drag Target". Row Drag and Row Drag Target enable the row in a table to be dragged from one table to another. The example is Operation view matching of Buy Sell Trade. In our example, we are using "Table Button".
- In Button Text, enter the text to be display on the button. In our example, we are using "Create Document".
- In Icon Css Class, enter the css class to be used. Please check with CoreTRM support for available CCS Class. In our example, we are using "fas fa-6ile-alt".
- In Requires Row Selection Indicator, tick this box if Row Selection is required before clicking the button. In our example, we are ticking this. So that when a contract is selected, we will use its contractseq num to retrieve data.
- In Requires Insert Access Indicator, tick this box if Insert Access is required before clicking the button. In our example, we are not using it.
- In Requires Update Access Indicator, tick this box if Update Access is required before clicking the button. In our example, we are not using it.
- In Requires Delete Access Indicator, tick this box if Insert Access is required before clicking the button. In our example, we are not using it.
- In Function Id, enter the name of the function to trigger. In our example, we are using "CreateDocument" which is specifically for doccument creation.
- In Function Param Item Refs, enter the paramter item refs to used. In our example, we are using "contractseqnum".
- In Function Fixed Params, enter the fixed parameter to use. In our example, we are using "dataobjectseqnum.eq.90". This is to indicate that it is created from contract view.
- In Confirm Message, enter applicable confrim message. If a message text is entered, when the use click on the button, the system will prompt this message. In our example, we are not using it.
- Then, click on to confirm the creation.
- To edit custom details after creation, Click to edit.
When can further specify some criteria for the table button using custom Item.

To create a new custom button, in View Builder-> Custom Items Tab:
- Click on to create a new line.
- In Order Num, enter an order num. In our example, we are using "500".
- In Function Param Element, select the function param element. The available function element are Date, File Lookup and Text. In our example, we are using "lookup".
- In Function Param Element id, enter the parameter element id to use. In our example, we are using "documentseqnum" of the selected document.
- In Function Param Element Label, enter a label for the function param element. In our example, we are not using it.
- In Lookup Object Name, select the object name to use for this function. In our example, we are using "Document" as we would like to display list of document in the dropdown.
- In Lookup Display item Refs, enter the Item Refs to display in the dropdown/lookup. In our example, we are using "documentname" as the user will select the document to use.
- In Lookup Value Item Refs, enter the lookup value item refs to use to link to the object. In our example, we are using "documentseqnum".
- In Lookup Criteria, enter any applicable criteria for the Lookup. In our example, we are using "documentseqnum.in.118" since we want the dropdown list to display only the "Trade Recap" document.
- In Lookup Default Values, enter any default values for the Lookup. In our example, we are using "118". When there are lookup values in the dropdown, it is useful to default the most commonly use.
- Then, click on to confirm the creation.
- To edit custom details after creation, Click to edit.
-
Below is an example of how it looks like in the Physical -> Contract view.
